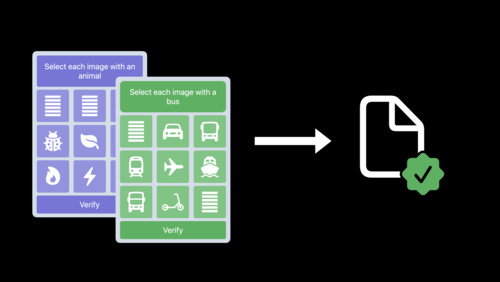
Private Access Tokens are powerful tools that prove when HTTP requests are coming from legitimate devices without disclosing someone’s identity. This proof can help you reduce how often you show CAPTCHAs to people. They are simple to set up and test — and so we’re inviting you in this challenge to try out Private Access Tokens on your own server.
Before you begin, be sure to watch “Replace CAPTCHAs with Private Access Tokens” for an overview of the feature.

Replace CAPTCHAs with Private Access Tokens
Begin the challenge
It’s easy to add support for Private Access Tokens on your servers: Your server can send an HTTP authentication challenge to request clients to present a token that is signed by a token issuer you trust. You can then validate tokens using that issuer’s public key.

Choose a Token Issuer
To adopt Private Access tokens, you’ll first need to choose a token issuer. Your server must include the token issuer’s hostname and public key in challenges sent to clients. You can test with token issuers from Cloudflare and Fastly when using iOS 16 and macOS Ventura. For each issuer, you can look up the public key using the URL format https://. You can fetch one of the following URLs from your server to get the issuer information:
Cloudflare — https://demo-pat.issuer.cloudflare.com/.well-known/token-issuer-directory

Fastly — https://demo-issuer.private-access-tokens.fastly.com/.well-known/token-issuer-directory
Learn more about Private Access Tokens and Cloudflare
Learn more about Private Access Tokens and Fastly
Token Challenge and Redemption
To send a challenge, your server needs to post a HTTP 401 response to a request made by the client with a “WWW-Authenticate” header containing a “PrivateToken” challenge. This header contains two attributes: “challenge”, which contains a TokenChallenge structure in base64url encoding; and “token-key”, which contains a token issuer’s public key using base64url encoding.
WWW-Authenticate: PrivateToken challenge=, token-key= The TokenChallenge structure contains the type of token, the hostname of the issuer, an optional context to bind to your challenge, and the hostname of your server. iOS 16 and macOS Ventura support token type 2, which uses publicly verifiable RSA Blind Signatures.
struct {
    uint16_t token_type;               // 0x0002, in network-byte order
    uint16_t issuer_name_length;       // Issuer name length, in network-byte order
    char issuer_name[];                // Hostname of the token issuer
    uint8_t redemption_context_length; // Redemption context length (0 or 32)
    uint8_t redemption_context[];      // Redemption context, either 0 or 32 bytes
    uint16_t origin_info_length;       // Origin info length, in network-byte order
    char origin_info[];                // Hostname of your server
} TokenChallenge;
Token responses come in an “Authorization” header. This contains the “token” attribute, which is a RSA Blind Signature token using base64url encoding. Use the token issuer’s public key to verify this token.
Authorization: PrivateToken token=Note: When you send token challenges, don’t block the main page load. Make sure that any clients that don’t support tokens still can access your website!
Adopt the “PrivateToken” HTTP authentication scheme
Issuance Protocol for Publicly Verifiable Tokens
Now that you know how to set up Private Access Tokens, explore sending token challenges in your own website. Test your site with clients that support Private Access Tokens — and ones that don’t! — and discover how you can make your CAPTCHAs only show for clients that don’t support Private Access Tokens.
Have questions about adopting this feature? Check out our Q&A on Private Access Tokens on Thursday morning. And don’t forget to share your CAPTCHA-free experiences on Twitter with the hashtag #WWDC22Challenges!
Powered by WPeMatico
